Hey guys, it’s Debbie from Debbie J’s Crafting Corner! Today, I’m sharing a fun and heartwarming card project that’s perfect for all the dog moms out there. We’re diving into a clean and simple design that packs a lot of love, using some fabulous products from Scrappy Tails Crafts and Simon Hurley. Let’s get started!

🐶 Crafting the Card
1. Embossing with Dies
I started by using the heart-shaped die from the Pet Keys set. Instead of cutting, I used it to emboss the design onto white cardstock. Most die-cutting machines, like my Platinum 6, have instructions for embossing with dies. This technique adds a subtle, textured look that’s just adorable!
2. Adding Color with Ink
Next, I brought in some color using Simon Hurley’s Roar! dye ink. This vibrant orange hue adds a cheerful touch to the embossed heart. I applied the ink over the raised areas to make the paw prints pop. If you don’t have matching colored cardstock, inking white cardstock is a great alternative!

3. Creating the Sentiment
For the sentiment, I used the “You’re the Best” and “Dog Mom” dies from the Pet Keys set. To ensure the colors matched perfectly, I inked a piece of white cardstock with Roar! and then die-cut the words. This technique guarantees a cohesive look across your card elements.
4. Adding Shimmer with Solar Sprays
To add some sparkle, I used Simon Hurley’s Solar Sprays in Golden Hour and Cross My Heart. These sprays provide a beautiful pearlescent shine. I lightly misted the background and then used a heat tool to speed up the drying process. The shimmer adds a magical touch to the card!

5. Assembling the Card
I adhered the embossed heart to an A2-sized card base using a tape runner and reinforced it with liquid glue for extra hold. To ensure everything was aligned perfectly, I used my trusty Cardmaker’s T-square from Pear Blossom Press. This tool is a game-changer for precise placement!
6. Adding the Finishing Touches
I die-cut the adorable sleeping dog from the Dog House Trifold Add-on set and added it to the card using foam tape for dimension. To complete the look, I scattered a few heart-shaped table scatters around the dog, giving the impression of dreamy love floating above.

💡 Tips and Tricks
- Embossing with Dies: Don’t limit your dies to cutting—they can emboss too!
- Custom Colored Cardstock: Use your inks to create cardstock that matches your project perfectly.
- Layering for Dimension: Foam tape adds depth and really brings your cards to life.
- Precision Tools: Invest in tools like the T-square ruler from Pearblossom Press for professional results.
📸 Final Thoughts
This card is a heartfelt tribute to all the dog moms out there. The combination of embossed textures, vibrant inks, and shimmering sprays creates a card that’s both simple and stunning. I hope this project inspires you to try new techniques and have fun with your crafting!
📺 Watch the Tutorial
For a step-by-step visual guide, check out my video tutorial on this project. Don’t forget to like, comment, and subscribe for more crafting inspiration!
🛠️ Supplies You’ll Need
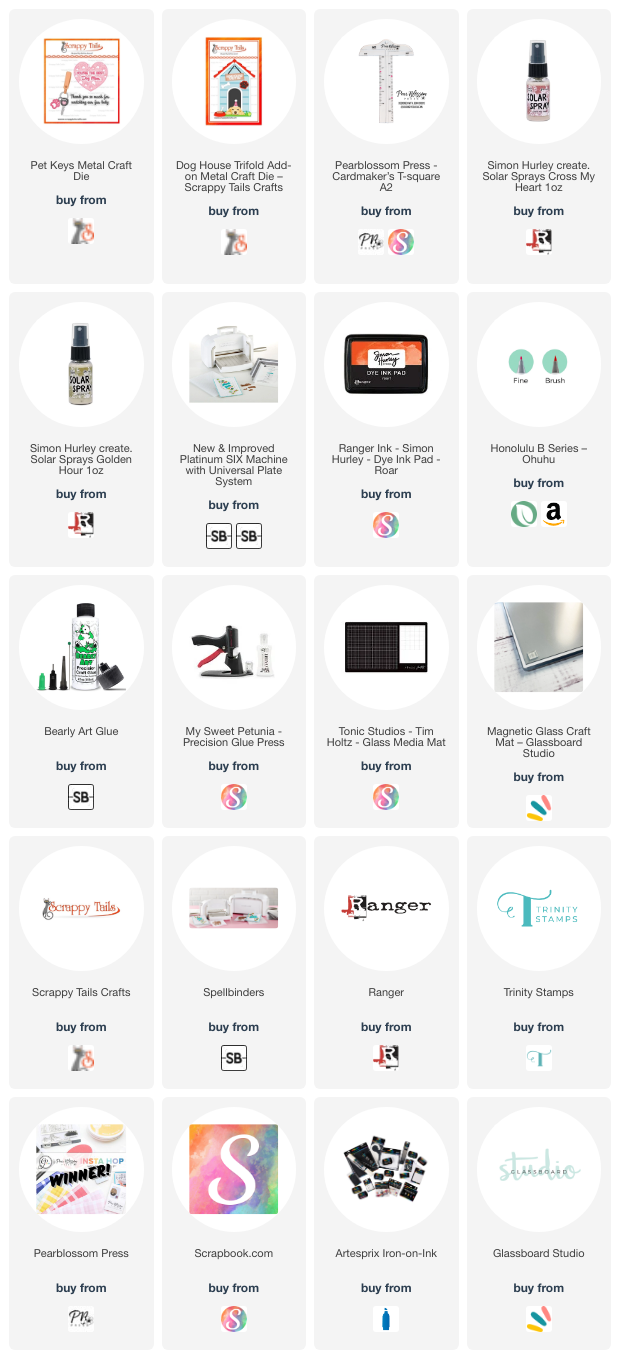
Here’s a list of the supplies I used:

Happy crafting, and I’ll see you in the next project!

Thanks for joining me in some crafty fun!
Let me inspire you to create something great!
Because, if I can make it, YOU CAN TOO!
~ Big Hugs!
Debbie Jenkins
Stalk me! You can find all my links on my LinkBio!
Want to see more cards using products from Scrappy Tails Crafts? Check them out here!


