Hey there, crafty friends! Debbie J here, and have I got a stunning project for you today! Get ready to make a gorgeous Light-Up Butterfly Card featuring the amazing One Light from Pear Blossom Press and the beautiful new Wildflowers Collection by Lisa Horton and Spellbinders – specifically those lovely Butterfly Silhouettes BetterPress Plates!!
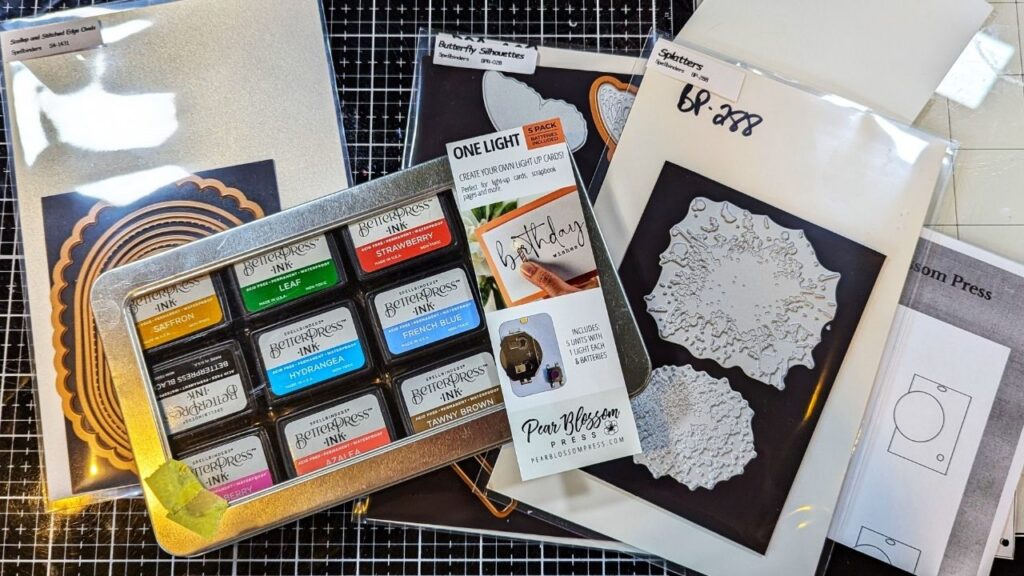
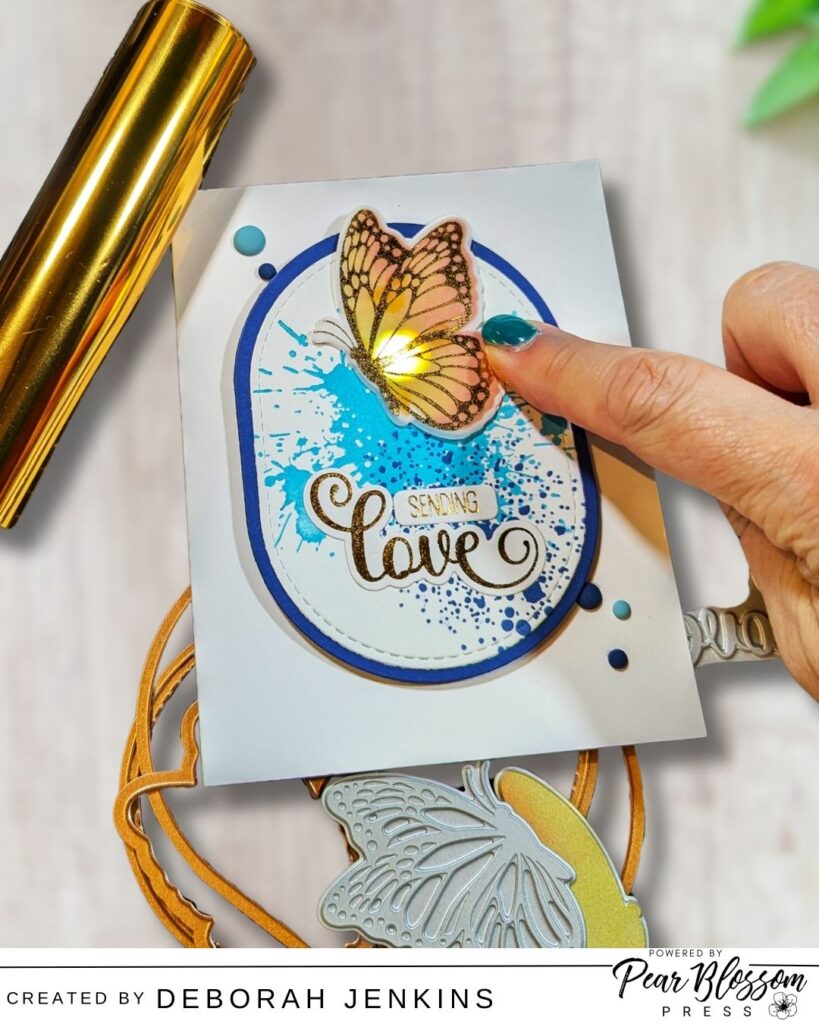
This card is all about layers and light!
First, I created some beautifully blended butterflies using the Spellbinders BetterPress system. I went with a sunny yellow and orange blend directly on the plates – and the impression was just divine! These were then die-cut with the coordinating dies.
Next, for an extra touch of elegance, I foiled the butterfly outlines onto vellum using my Spellbinders Glimmer Hot Foil System and some Polished Brass foil. Layering this foiled vellum over the colored butterflies? Absolutely magical! The vellum softens the colors underneath and adds such a delicate shimmer.
Are you thinking of testing the waters with cards that light up?
Then my Light-Up Card BASICS Mini-course is for you. You’ll learn about the different products and supplies that make creating light up cards a breeze, and see some examples of the lights in action.
But the real magic happens when we add the Pear Blossom Press One Light! I created my card front using the Spellbinders Scalloped and Stitched Edge Ovals and their Splatters BetterPress plate for some subtle background texture. To let that beautiful light shine through, I die-cut a small circle behind where my butterfly would sit. I also stamped a “Press Here” sentiment (from the Pear Blossom Press interactive stamp set) which I heat embossed for a little extra pop.
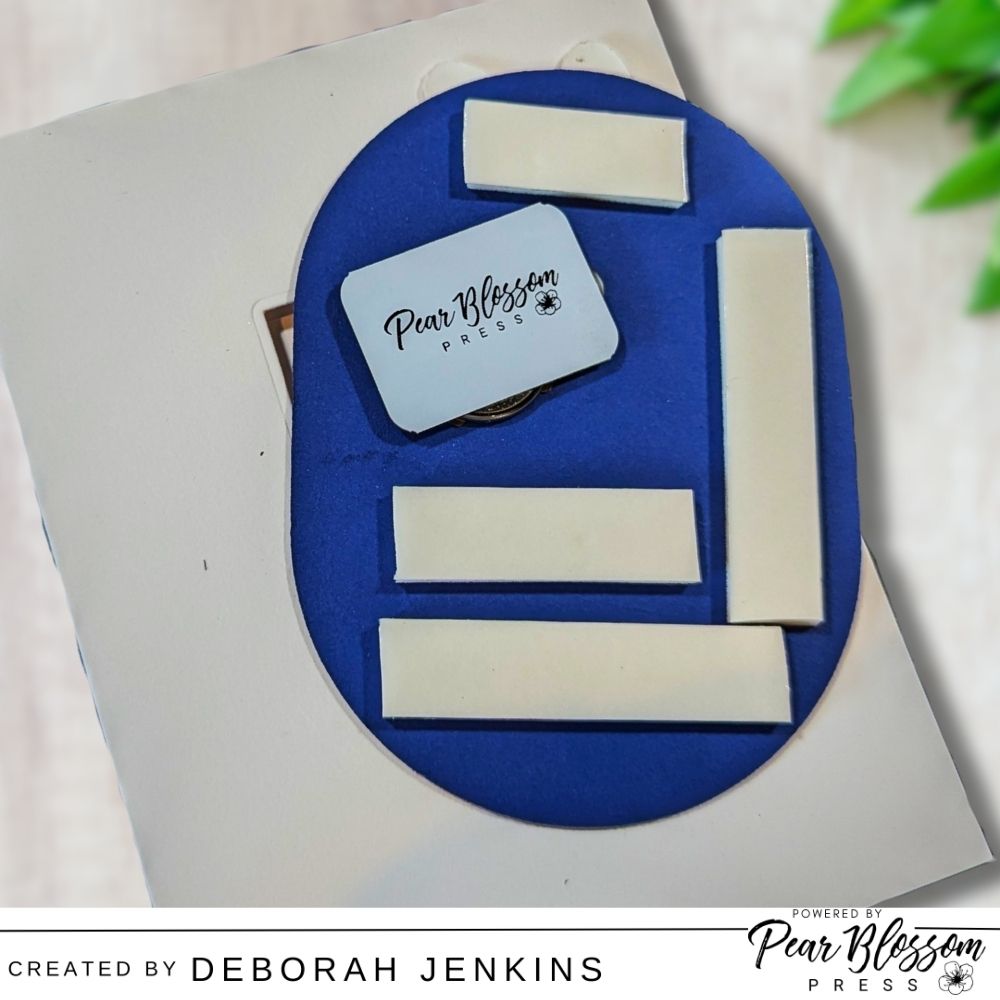
The One Light unit fits perfectly behind the panel. I even added a super clever little access door on the inside of the card using another die from the Pear Blossom Press set, so the battery can be changed easily! How neat is that?!
Watch the Magic Happen!
Want to see how it all comes together? Watch the full tutorial below, where I’ll walk you through each step of the process. You’ll learn how easy it is to add lights to your cards and make them truly unforgettable!
Here is a little peak INSIDE the card so you can see how EASY the EZLight is… plus a look at the completed card!
More Inspiration
I’ve included some close-up photos of the finished card so you can see all the fun details. If you give this technique a try, I’d love to see what you create! Share your projects in my Facebook group or tag me on Instagram @DebbieJsCraftingCorner or #DebbieJsCraftingCorner


Would you like to see more light-up card tutorials? Let us know in the comments! Happy crafting! ✂️✨
And thanks for joining me in some crafty Fun! I hope that I have inspired you to create something great!
Because, If I can make it, You Can Too!
~Big Hugs!
Debbie J

Want to see more cards that Light Up using Pear Blossom Press Lights? Check them out here!
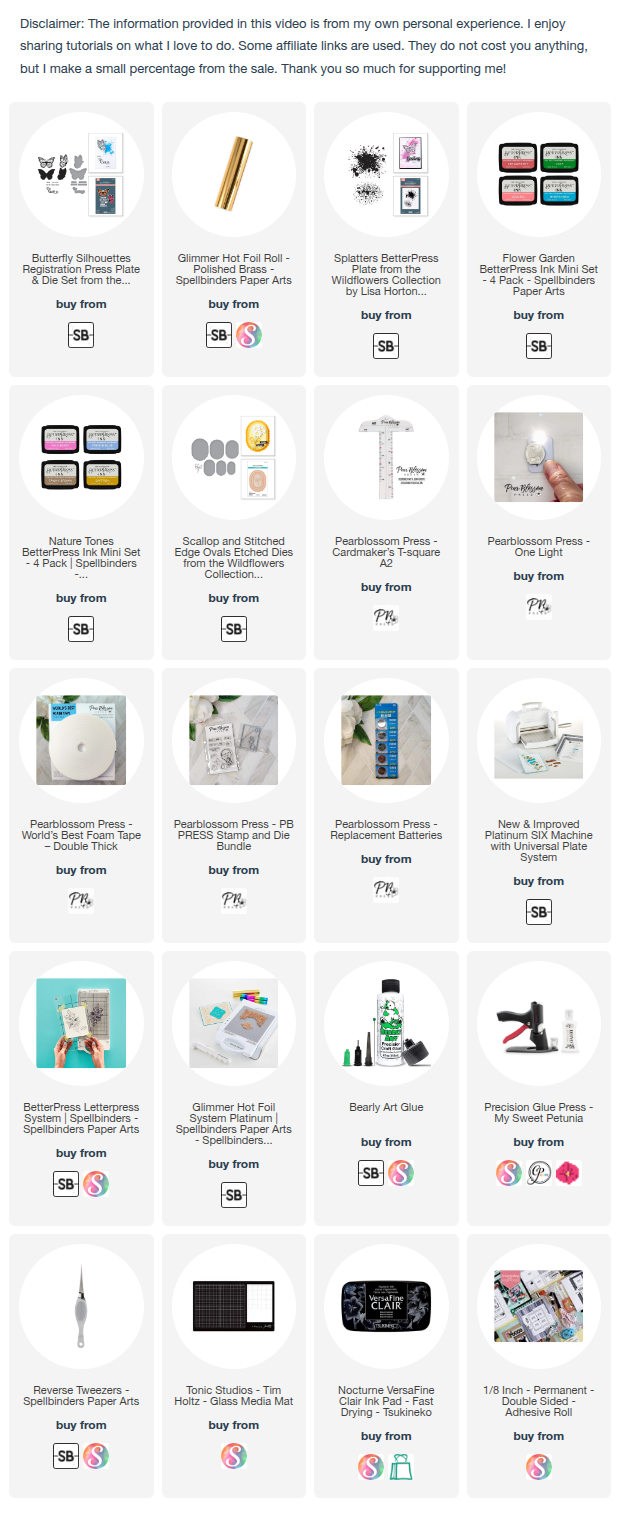
*** TOOLS AND SUPPLIES USED IN THIS PROJECT ***
