Hi guys! Welcome back to Debbie J’s Crafting Corner.
This week’s Live Stream was so easy and fun!
I showed you how to create an easy laminated Traveler’s Notebook Cover! And this one is a MINI!
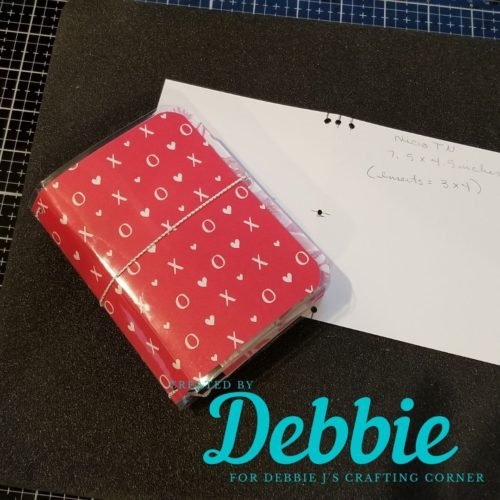
This is a great gift idea!
You probably have most of the supplies we’ll need today in your stash.
- Scrap book paper
- A paper trimmer or scissors
- A scoring tool
- Ruler
- A craft pick or awl
- A laminator and laminating pouches
- Elastic cord
- Hole Punch
- Corner Rounder
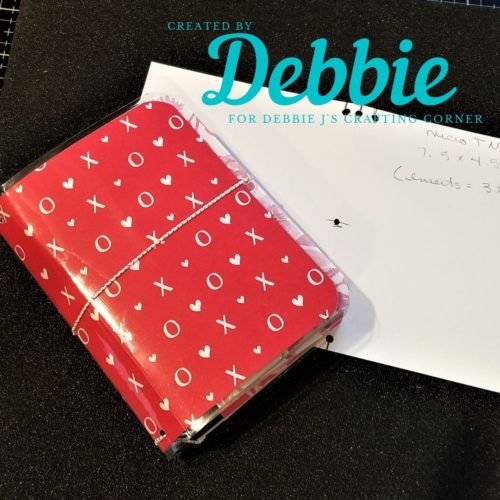
Create the template
- Use a 7 1/2 x 4 1/2 inch piece of paper (or cardstock).
- Score at 3 3/4 inches on long side.
- Mark cardstock at 3 1/2, 3 3/4 and 4.
- Repeat on opposite size.
- Punch 1/4 inch from edge of cardstock on each of the markings. This will give you 3 holes near the midpoint on both of the long sides of your cardstock.
- Fold in half along scored line.
- Measure to the midpoint of the scored line (2 1/4 inches).
- Punch a HALF circle at the midpoint with paper in half. When unfolded, this will give you a FULL circle in the center of your template.
I mentioned that I would be creating a template to use in my ScanNcut. And here it is! The file is free for you through the end of the month. I’m also adding it to my free downloads for VIP and Happy Mail members. (I plan on fleshing out these areas in the coming months, so get a head start and join now!
Check out the easy Traveler’s Notebook MINI Cover that we made in this week’s Live Stream!
You can create lots of perfect sized MICRO travelers notebooks with your new template!
After you have cut your pretty patterned paper cover out and added all the holes, I recommend rounding the corners and laminating it for durability. This is the perfect size to keep in your purse and you want to keep the cover looking nice.
WANT TO HELP SUPPORT MY BLOG?
- Watch, Like, Comment and Share this post with all your Crafty friends!
- Buy a card or digi! If you loved this card, you can buy it! Shoot me an email.
- Leave a tip in the tip jar!
- Check out the supply list later in this post for easy shopping. The list includes affiliate links that allow me to make a percentage from sales without any additional cost to you. So shop away!
How to run the elastic
This is a really easy project, but running the elastic can be the most confusing. The elastic holds the signatures and other goodies in your traveler’s notebook. You will want to leave it a little loose to make it easier to insert your notebooks.
Cut a piece of cord about 4 1/2 times the height of your cover.
- Thread the cord starting from the bottom inside center and thread it out.
- From the outside bottom right in.
- From the inside top right out.
- From the outside top center in.
- From the inside bottom center out.
- From the outside bottom left in.
- From the inside top left out.
- From the outside top center in.
- Tie the ends together at the center the point.
Measure cord around the closed TN.
- Run the middle of the cord through the center hole in the center scoreline.
- Close TN and test tautness of cord.
Finally, adjust if too loose/tight. Tie on inside.
Project Photos


I try to share my crafty creations at least once a week… to make sure that you never miss a blog post, be sure to sign up for my newsletter using the button below.
Do you have a project you’d like to share?
I love seeing what you create, so come join my Facebook Group – Crafting with Debbie and show us your creations!
PIN ME!
——— S U P P L I E S ———
(and where to find them)



One Comment