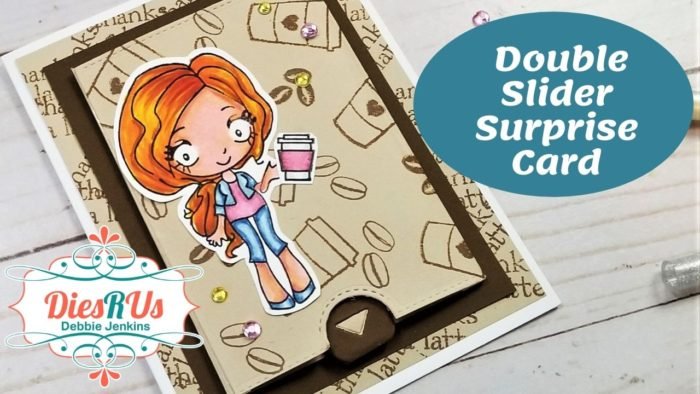
“Got Coffee?” Double Slider Surprise Card
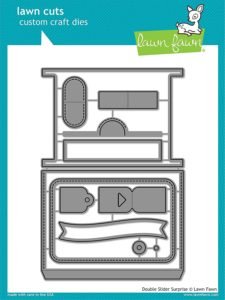
Hi Guys! I’m Debbie from Debbie J’s Crafting Corner, here today sharing how I created this “Got Coffee?” Card using the Double Slider Surprise Die set from Lawn Fawn.
I love showing the process when I’m creating. I’m hoping that my tutorial and video help you see that, if I can make it, You Can Too!
I used the following die from Dies R Us:
Check out the video showing how I created this adorable card!

I’m using a Coffee theme, so I went through my stamp stash and pulled out a few stamp sets to work with. I’m using the “Got Coffee?” stamp set from The Greeting Farm. (it’s no longer available, but there are plenty of other focal image stamps that you can use.)
I’m also using a few images from Fiskars “Latte Love” and Stampabilities “Coffee”. Both sets have coffee bean and coffee cup images, and I thought they would be perfect to help me create some fun background papers.
Before starting on this card, I created a “sample” of the mechanism.
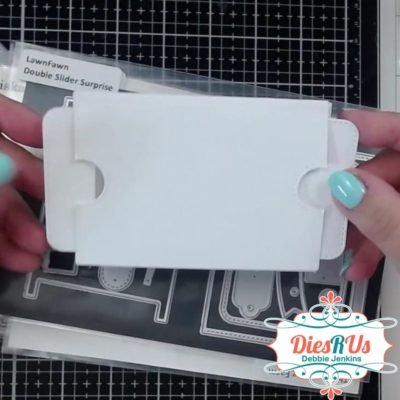
Die-cutting, stamping and coloring
Then I die-cut all of the pieces needed to make my mechanism. For this, I used some brown cardstocks from Recollections that have been in my stash forever. YAY! I get to use some of that up!
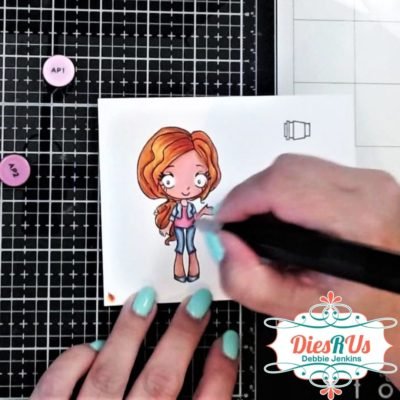
Next, I stamped and colored my coffee loving character using Memento Tuxedo Black ink and Spectrum Noir Markers.
Now let’s start decorating the mechanism pieces.
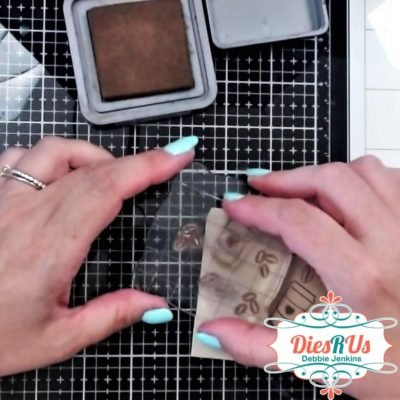
I used the coffee bean images and a coffee cup image to create an easy and fun background on the wrapper and the fronts of the pullout panels using Vintage Photo Distress Oxide ink. Any brown ink would work.
Next, let’s assemble the mechanism for our double slider.
And we’ll be using some recycled material for this.
I cut a 2 ¼ inch wide strip from a Dollar Tree Bag and I added a piece of Scor-tape to one end of that. I’m using 1/8th inch Scor-tape because you need it this thin for the rest of the mechanism. You’ll see what I mean in a moment.
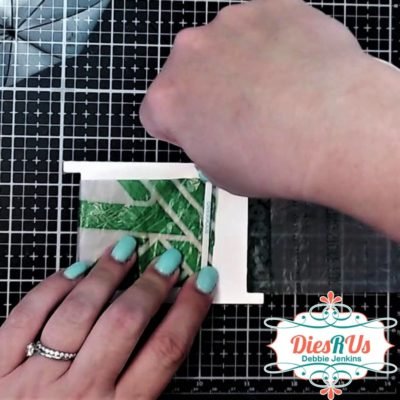
I removed the release paper, and gently wrapped the other end of the plastic around the track piece. You don’t want it too tight or too loose. It needs to be able to slide easily around the track.
Then I cut off the excess.
And this completes the main mechanism for our slider.
For the next step, we’ll add more Scor-tape .
Shift your slider plastic to the left side of the track and add a piece of Scor-tape where the plastic over laps.
Then turn the track piece over, and repeat on the OTHER end.
You may remember that I cut out 4 of the panel pieces. This was because I felt that the cardstock was a little thin, and I wanted a little more stability.
So I adhered the dark brown pieces onto the back of the coffee patterned pieces with a dotliner adhesive.
First, on the track piece. I adhered a piece to the very top, and another to the very bottom and repeated this on the back.
Now we can add the panels to the mechanism.
I made sure that the Scor-tape was at the left end of the front of the track and removed the release paper. Then I took the panel that will slide out to the right, lined it up, and adhered it to the slider plastic.
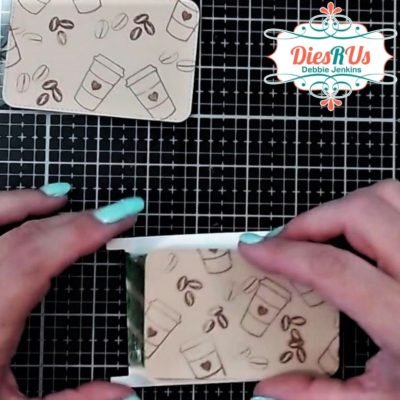
Next, we flip it over and do the same thing on the back. Be sure that the BACK of the panel is facing you when you adhere it down so that the FRONT of the panel will be seen when the slider is used.

Now that the mechanism is working, it’s time to put it into the pocket sleeve that will go on the front of the card.
On the pocket pieces that we cut, there is a score line and flap. I’m adding some Scor-tape to the flaps on the side that will face outward.
Then I’ll adhere these together.
Next we add the track to the pocket.
Add some 1/8th inch Scor-tape to the top and bottom of the track piece, right along the edge. If the adhesive is placed any further down, it may get caught on the panel and the slider won’t work. (Ask me how I know!)
We add the Scor-tape to the front and the back.
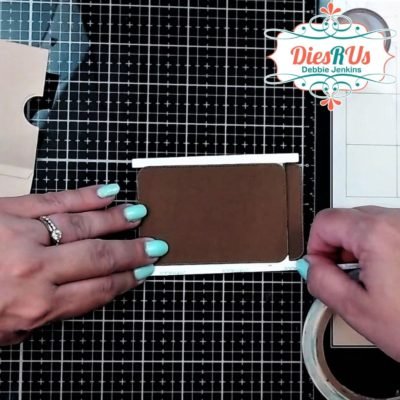
Then remove the release paper from the back, top and bottom, and line it up with the crease of our pocket.
Then you can press both the top and bottom in place… and TEST to make sure that the slider still works!
Now remove the rest of the release paper; from the top, the bottom, and from the other flap on the sleeve pocket.
Fold the flap in and then close the pocket.
And TEST again!
There are several dies in the set for a pull tab. I want to make sure that the recipient knows what to pull, and to make it a little easier.
So I used one of these and cut it out of dark brown paper so that it will contrast with the light brown that I’m using for the panel.
And I cut the little triangle that acts as an arrow out of the light brown cardstock as well.

For the “surprise” slider panel, there are so many options!
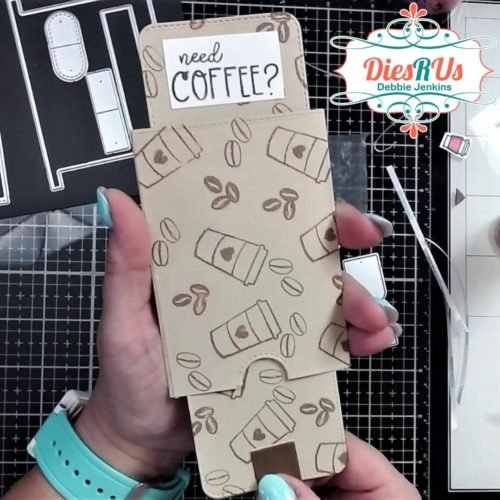
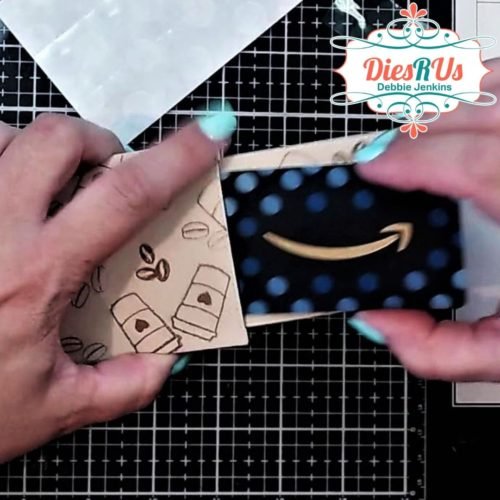
Time to decorate!
Now that all the complicated stuff is done, we can decorate the slider panel. I created another stamped pattern paper panel and layered a dark brown panel on top, creating a double mat for the slider.
Then I added some foam tape to the back of the slider, and adhered it to the front of the card.
Here are some photos of the finished card.
Thank you so much for dropping by.
I hope you enjoyed this project and would love to hear what you think of this double slider surprise card.
Please like this post and leave me a comment down below!
Be sure to check out my YouTube Channel, Blog, Pinterest, and Instagram for more inspirational projects. I also have a fun Facebook Group where you can share your projects with other fantastic creators. We would love to see what you create, so come join us!
Head back to the Dies R Us Blog tomorrow for more fabulous inspiration from the DRU Inspiration design team.
Be sure to check head over to Dies R Us Challenge Blog. We love to see what you create, and this is a perfect place for you to share your creativity.
PLUS, there is a new challenge theme offered on the 1st and 15th of each month, and one lucky randomly drawn winner will receive a $10 gift certificate to the Dies R Us Store.
Click below for:
FRIENDS OF DIES R US PINTEREST PAGE
Thanks so much for stopping by. And remember, if I can make it, YOU CAN TOO!

 Deb JenkinsIf I can make it, YOU CAN TOOStalk me: Facebook | Pinterest | Instagram | YouTube | Blog | Tips are appreciatedVisit my channel and Blog for tutorials, inspiration, and motivation!
