Who doesn’t love shakers? In this week’s LiveStream, we made a LIQUID shaker card using HAND SANITIZER!
How COOL is that! If you want to craft along with me in the video, here’s what are the basic supplies that you’ll need:
- ziplock bag
* Hand sanitizer, dish soap, or liquid hand cleaner (translucent)
* dies, or a way to cut a window in your paper and cardstock
* craft foam or foam tape - strong double-sided adhesive (ie. scor-tape)
* tape (scotch tape, washi, whatever)
* card base
* embellishments (whatever you want to decorate your card with… I’m stamping and coloring a cute mermaid)
WANT TO HELP SUPPORT MY BLOG?- Watch, Like, Comment and Share this post with all your Crafty friends!
- Buy a card or digi! If you loved this card, you can buy it! Shoot me an email.
- Leave a tip in the tip jar!
- Check out the supply list later in this post for easy shopping. The list includes affiliate links that allow me to make a percentage from sales without any additional cost to you. So shop away!
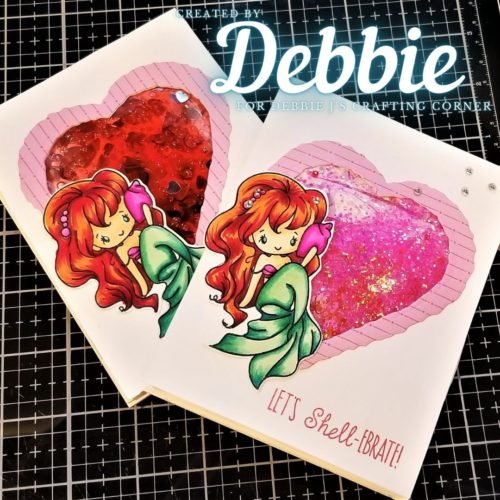
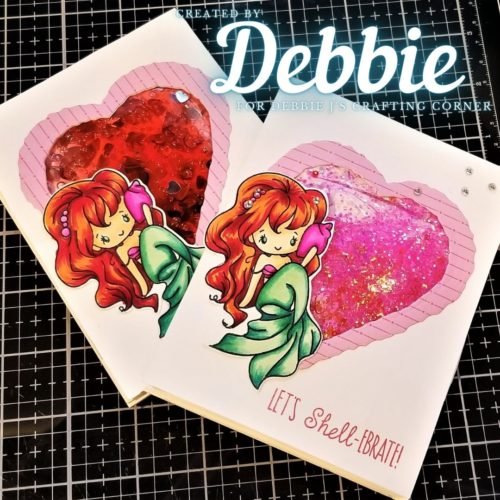
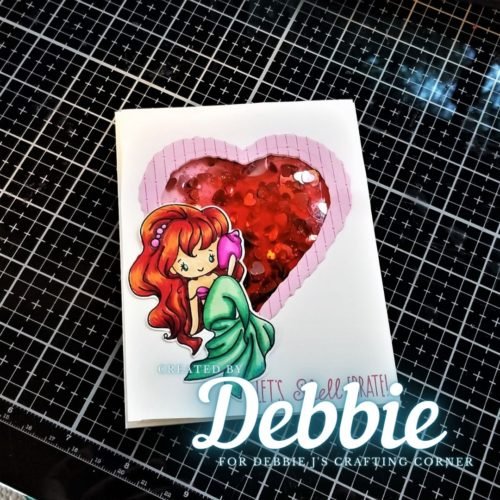
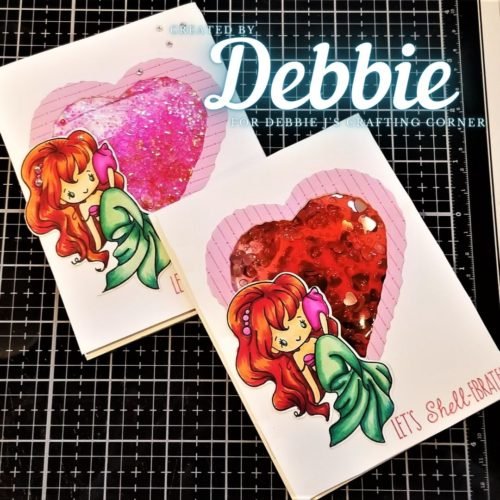
Before the video, I did a bit of research and had to try out one of the ways to do this. And I pulled out one of my mermaid stamps. This card turned out so cute, and I discovered a couple of things that I wanted to change about the process.
I had used the “glitter hearts” from Target that I’ve been using on a lot of projects over the last several months. And I think this wasn’t the best idea.
- The pointy end is a little sharp. Not alot, but it might cause issues. None of them poked through the plastic, but I think it could happen.
- Test out the reactions that your materials will have with each other. I used a clear hand sanitizer, and the hearts “bled” into it. Since there is alcohol in the gel, I’m pretty sure that alcohol ink was used to color the hearts in manufacturing.
 I try to share my crafty creations at least once a week… to make sure that you never miss a blog post, be sure to sign up for my newsletter using the button below.
CREATE EVERYDAY
Never miss new project inspiration.
Sign me up!Use less liquid medium than you think you need. Since the ziplock is wrapped around the back panel, all of the gel is squished into the center. I thought I didn’t have enough and added a little more (to get the glitter to mix) and it was probably too much.
I also used a double layer of foam tape to give enough space for the shaker… I think a triple layer, or thicker foam, would work better.
One last thing I’ll try out on a future card is using some acetate or transparency film behind the window and in front of the ziplock. It would give a bit more protection, but… it may not be as fun to touch! You’ll have to try this kind of card and see for yourself.
I hope that you enjoy the video as much as I enjoyed making this adorable shaker. I’d love to hear what you think, so be sure to like the post and add a comment down below. I read all of them and respond as often as I can.
Project Photos
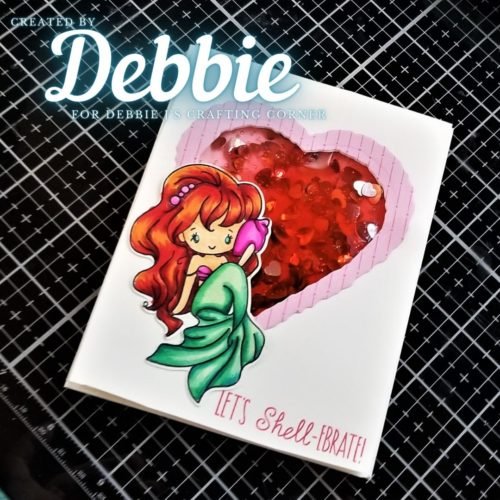

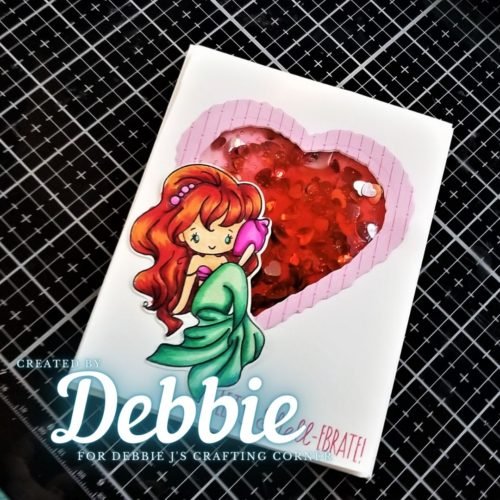
Do you have a project you’d like to share?
I love seeing what you create, so come join my Facebook Group – Crafting with Debbie and show us your creations!
PIN ME!
——— S U P P L I E S ———
(and where to find them)
(DISCLAIMER: I was not paid for the creation of this video. I use affiliate links whenever possible in my blog posts and videos. It doesn’t change the way you purchase things, but it allows me to make a percentage off of sales. Thank you for using the links provided & helping me continue to create here.)

Deb Jenkins
If I can make it, YOU CAN TOO
Stalk me: Facebook | Pinterest | Instagram | YouTube | Blog | Tips are appreciated
Visit my channel and Blog for tutorials, inspiration, and motivation!


she is so darn cute!