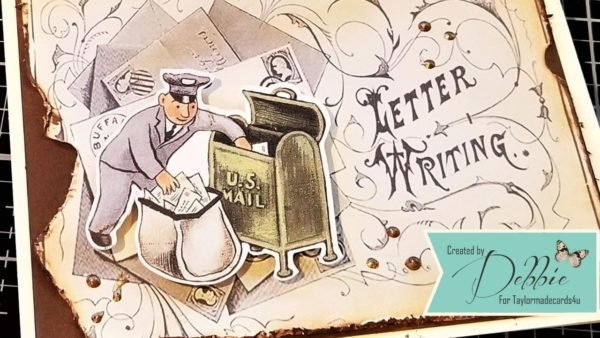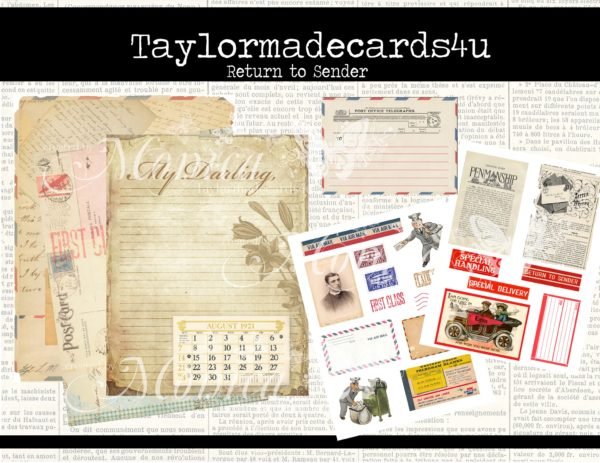
Today I’m using another awesome digital kit from Taylormadecards4u.
Today, I’ll show you how I created this Vintage Postman Card. I’m using another awesome digital kit from Taylormadecards4u.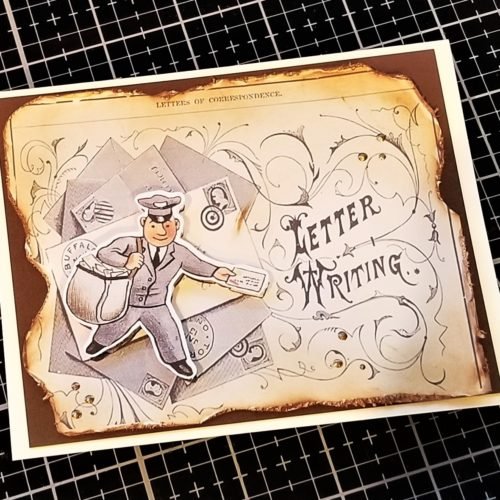
You’ll also want to check out the Crafter’s Castle’s Monthly Challenge. The challenge is “anything goes” and is solely sponsored by TaylorMadecards4u.
This month’s prize is the ” Return to Sender” digital kit that I’m using for today’s project. Which means that the challenge is open Worldwide!
By the way, check out my video and stick around till the end. I have a coupon code for you to get 20% off your purchase at Taylormadecards4u.

Today I’m stepping a little outside my comfort zone and attempting some distressing on these cards… you’ll have to tell me what you think. I really appreciate your respectful comments so please leave one down below (and on the video ).
How I get my digital images ready
Before getting into that, though, I wanted to let you know a little about how I use my digital images. (you can see a walk through at the beginning of the video).
- Download.
<
p style=”padding-left: 80px;”>All of the images from Taylormadecard4u come in a JPG format. So you just download and save them to your computer. I have a folder named “Taylormadecards4u” that I use just for the images that I get from Monica.
2. Crop.
By double clicking on one of her images, it opens on my computed in Microsoft Photo. I think you should be able to crop the images using whatever photo viewer you are using on your computer.
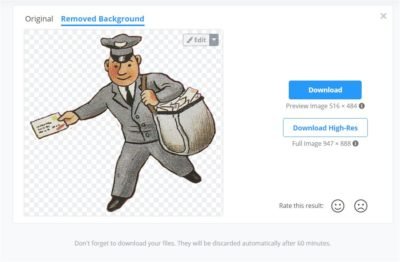
3. Remove the background if needed.
If you will be layering your images, you might want to remove the background. I discovered an awesome free online app for this…. Remove.bg . You just drag and drop your image. And the app does the rest. If it doesn’t get rid of everything you want (or if it gets rid of too much), it even has an edit feature so you can manually remove what was missed. If you try it out, let me know how you like it!
 I try to share my crafty creations about once a week… to make sure that you never miss a blog post, be sure to sign up for my newsletter using the button below.
CREATE EVERYDAY
Never miss new project inspiration.
Sign me up!Check out how to put it all together to create a cute card.

——— P R O J E C T ———
I hope that this video has inspired you to grab your use digital kits in creative ways and create something amazing. I’d love to see what you make, so come find me on FB, IG or Twitter, or shoot me an email at DebbieJ@debbiejscraftingcorner.com to show me your creations!
Here is the rest of the design team line up!
https://youtu.be/sg1pN5YKrgAhttps://youtu.be/VECxQAaStOQhttps://youtu.be/RrF8nHZsZRwhttps://youtu.be/l-uG6eEOVC8https://youtu.be/VNNu6zE0FRYhttps://youtu.be/0sm7euKeWQY——— S U P P L I E S ———
(and where to find them)
——— S O F T W A R E ———
* Microsoft Photos App in Windows 10
* Microsoft Word
* Remove.bg (free website for removing the background from your images)
——— P A P E R ———
——— T O O L S ———
——— I N K ———
——— A D H E S I V E S ———
——— E M B E L L I S H M E N T S ———
 Deb Jenkins
If I can make it, YOU CAN TOO
Stalk me: Facebook | Pinterest | Instagram | YouTube | Blog | Tips are appreciated
Visit my channel and Blog for tutorials, inspiration, and motivation!

